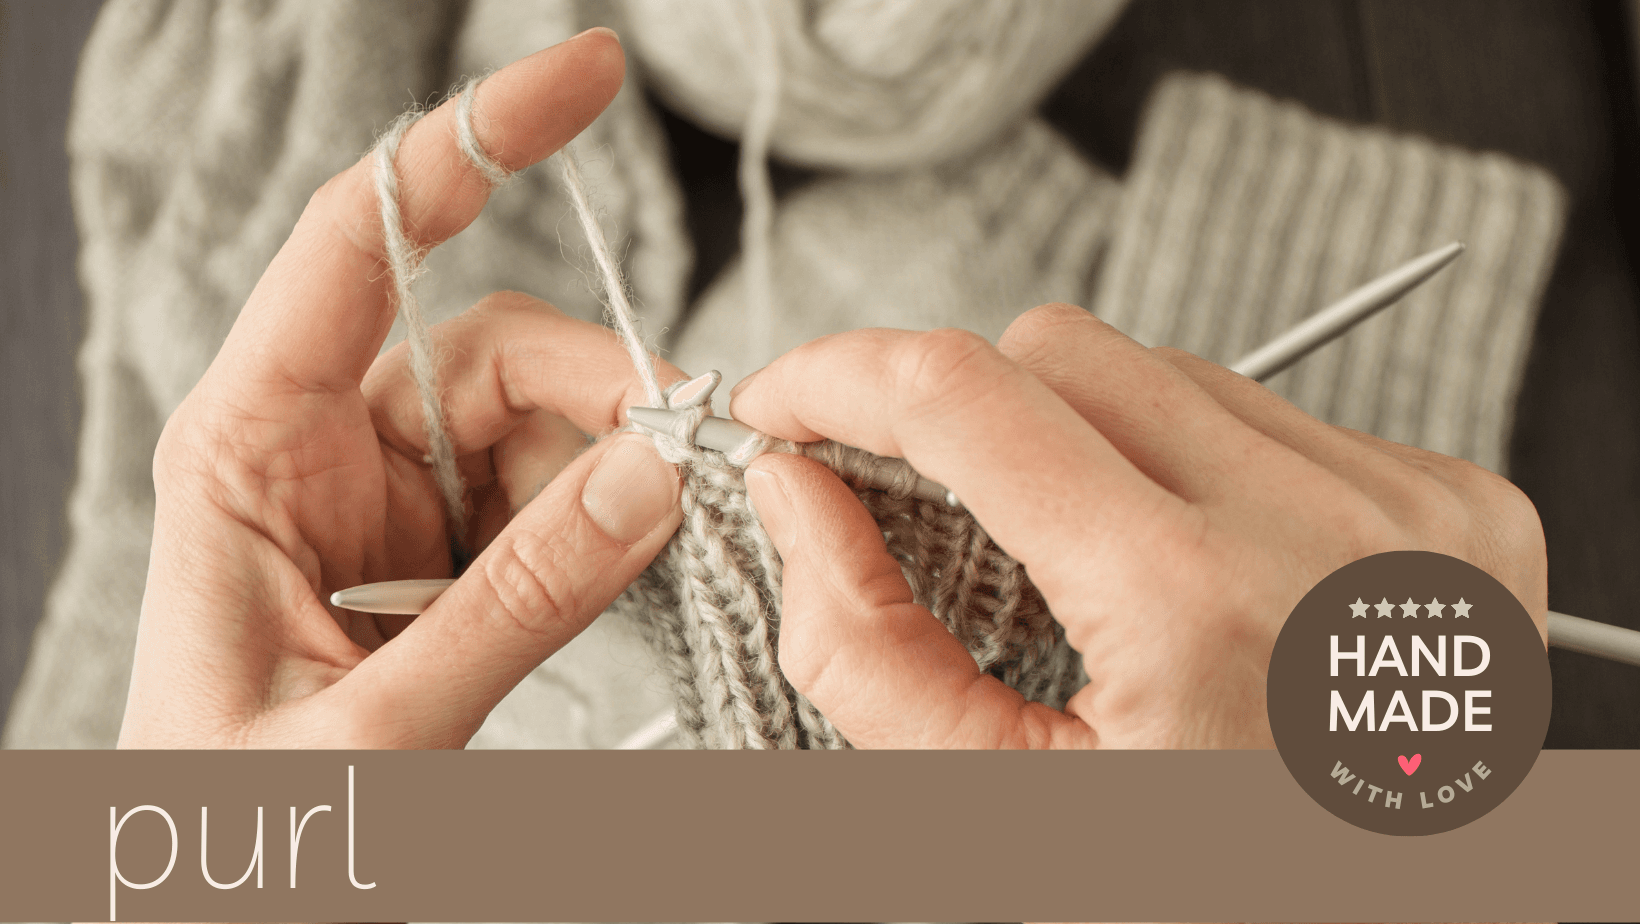
Mastering the Purl Stitch: A Beginner's Guide
Posted by Kelly Holtsclaw on Mar 9th 2023
The Purl Stitch

Reads "P" in a pattern
Purl stitches are challenging at first. You've worked so hard to remember the four basic steps to knitting, and now you have to forget it? In a way.
You'll find purling is no more difficult than knitting, just different.
Purl stitches are going to expand the number of your knitting projects by leaps and bounds! Putting knit and purl together is where the act of knitting gets exciting! Most knitted pieces combine knit and purl stitches, working marvelously together.
Purling requires the same technique as knitting, but how you handle the yarn and form the stitch is slightly different. When you knit, you keep the yarn from the skein or ball in the back. Purling requires you to keep the yarn in the front of the knitting.
Try not to get tense or loose. You will concentrate hard and will, without thinking, be too loose or tightened up. Irregular rows can be disastrous for your final project. I can assure you that as you practice more, your tension will improve. If you notice that one row looks much different than the next one, be mindful of your pressure.
The Five Steps of the Purl Stitch
As with the knit stitch, start with your work in your left hand and the empty needle in your right. You will bring the stitches, one by one, from left to right.
Keeping the yarn in the front, insert the right needle into the first stitch from right to left (under the loop closest to you on the knitting needle).
Wrap the yarn around the right needle while it is still inserted in that first stitch.
Hold the yarn so it doesn't get too tight, and push the needle holding that loop through to the back of the work.
Taking care to hold onto your work on the left, slide the loop off the left needle onto the right, leaving a new stitch on the right needle. One purl stitch completed!
Continue repeating this until you reach the end of your row.

